


The art of spacemaking
Where form and function meet.
Designing outdoor communal spaces for people to experience life can be a monumental task which requires expertise and the right products to support the desired design.
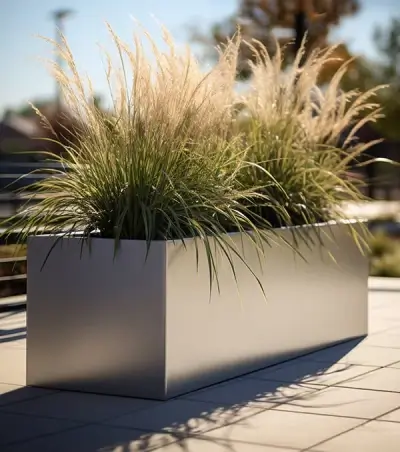
Pots & Planters

Tables & Benches

Greenscreen® Products

Start a custom project with our advisors
We’ll apply our 30 years of experience working from design to delivery to make sure that your custom project is a success!

Seeking Inspiration?
Take a look at some of our top rooftop projects.

Fantastic Rooftop on Serif & The Line Hotel
San Francisco, CA

